Saturday, September 29, 2012
Giveaway at Playing with Paper
There is a giveaway at Playing with Paper. Julie had a great birthday and decided to share some joy with her blog followers. She'll give $25 voucher to an online scrapbook store of your choice. To be entered in the drawing, go to her blog and follow the instructions. Good luck!
Thursday, September 27, 2012
2 Become 1
Here is a layout I made as an entry to Studio Calico Sunday Sketch from 09/23. The photo was taken on my wedding day, in 2009.
I stamped the Road Show background stamp on a piece of card stock. I then used the card stock as a layer behind the picture. I also used a Unity Stamp from "A Simple Christmas" collection to make the photo frame.

I colored the bird chipboards using some Studio G white ink and drew some line using a black Spica marker. I added some roses from Aarti's rosette trim as well as a jute twine and a heart flat back pearl. I glued all of these together and put it at the bottom of the picture. I also used the gorgeous seam binding from Anna Zuniga as an embellishment.
I also used a page from Making Memories Noteworthy Journaling book as a place to put my journals.

As a background for the title I die cut a circle using the Nestabilities from Spellbinders and then embossed the paper using a beehive texture plate from Fiskars. I then rubbed some Worn Lipstick Distress ink on the raised part.

Supplies:
-Studio Calico Central High and Road Show kit
-A Simple Christmas stamp set from Unity
-Big Circles Nestabilities, Fiskars Texture Plate
-Seam binding from Anna Zuniga
-Shabby chic rosette trim from Aarti
-Making Memories Journaling Book
Monday, September 24, 2012
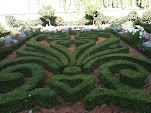
Angkor Wat
Here is a layout for an old picture that I took in Cambodia.
I used several pieces from different paper of Studio Calico Central High and Road Show kits and glued them together on a piece of white paper. I used some stitching to keep the pieces together.


Supplies:
-Studio Calico Central High and Road Show kits
-Studio Calico Camera mistables, rub-ons, star wood veneers
-Washi tape, felt die cuts,buttons, doily veneer from Diana McRae
Sisters
Here is a layout I made for a couple of pictures of myself and my sister.
I pulled up some items from my stash and put them in this layout. I forced myself to use the items that I rarely use.
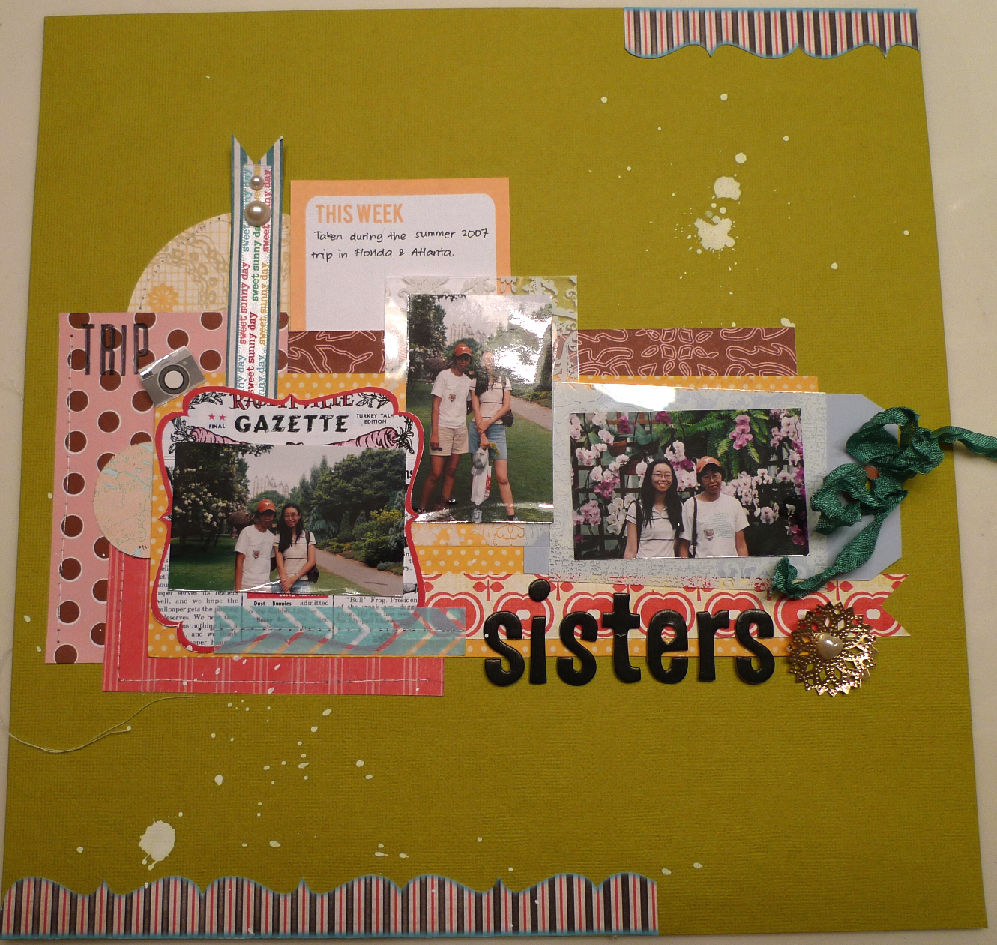

Supplies:
-Paper from Sassafras Lass, My Mind's Eye
-Embellishments from Studio Calico, Making Memories, American Crafts
-Seam binding from Anna Zuniga
Saturday, September 15, 2012
Hello Real Life
The picture in this layout dates back to 2003, when I worked full-time as an intern.
I used the stencil paper as a background and covered the back of several letters (R,E,A,L) with some background paper.
I stitched some part of the layout and punched the edge of the blue paper.
The journaling spot is tucked behind the photo to add an additional layering.


I used the stencil paper as a background and covered the back of several letters (R,E,A,L) with some background paper.
I stitched some part of the layout and punched the edge of the blue paper.
The journaling spot is tucked behind the photo to add an additional layering.


In Troyes
This is a layout I made for an old picture that I took in Troyes, when I did a summer program at UTT, a university in Troyes, France.
In this layout, I flipped the stencil 12x12 paper and used it as a mask to create the background. I also used the background stamp from Studio Calico's Road Show kit to make a layered piece.
The glassine bag behind the picture serves as a photo mat as well as a pocket that contains my journaling.


In this layout, I flipped the stencil 12x12 paper and used it as a mask to create the background. I also used the background stamp from Studio Calico's Road Show kit to make a layered piece.
The glassine bag behind the picture serves as a photo mat as well as a pocket that contains my journaling.


Toi et Moi
This is the second layout I made using the September Kit from Studio Calico. This is a scraplift from Jen Jokisch' layout for SC Pop Off the Page class.
Since I do not have a Starburst mask, I decided to do the misting manually, using a protractor, a ruler, a pencil and 2 pieces of paper.
I started out by marking the center of the starburst, for me it's near the bottom left corner. I then started to make a mark for every 20 degrees using a pencil and a protractor. I extended the mark up to to the edge of the 12x12 paper with the help of a ruler. I misted the paper with Mister Huey's white.


Desert Sunset
I've
just recently subscribed to Studio Calico scrapbook kits. Here is the first layout that I made using the Central High and Road Show kits.
The Basic Grey paper from the kit already has some "layering" on it, albeit a digital one. So I decided to add a little bit more layering to add some colors. I used the Silhouette machine to cut the title of the layout.


The Basic Grey paper from the kit already has some "layering" on it, albeit a digital one. So I decided to add a little bit more layering to add some colors. I used the Silhouette machine to cut the title of the layout.


Wednesday, September 5, 2012
Love 2 Remember This Happy Day
I decided to make a layout for my wedding bouquet. This is also my entry for Studio Calico Pop Off the Page Challenge for week 1.

This layout is made using mostly the paper from My Mind's Eye. Using an exacto knife, I made a slit around the typewriter so that I could slip in the picture. For each pattern paper pieces that I used for layering, I added a hand-drawn border. I added some journaling around the photo frame.
I used various stamps for this layout. I stamped some white chevron on the black pattern paper. Three different heart stamps were used to create the heart tag. Finally, I used Technique Tuesday Typewriter Alphabet stamp set for the layout title.

I added some sequins to the black tulle added behind the typewriter image. I wrapped around a red jute around the typewriter and stuck a flair button. Behind the "Remember This" phrase, I used some washi tape which I stuck to a white paper and then cut. The combination of the flair, the title and the sentiment that comes from the base cardstock read "Love to Remember This Happy Day".


This layout is made using mostly the paper from My Mind's Eye. Using an exacto knife, I made a slit around the typewriter so that I could slip in the picture. For each pattern paper pieces that I used for layering, I added a hand-drawn border. I added some journaling around the photo frame.
I used various stamps for this layout. I stamped some white chevron on the black pattern paper. Three different heart stamps were used to create the heart tag. Finally, I used Technique Tuesday Typewriter Alphabet stamp set for the layout title.


Supplies:
-My Mind's Eye Lost & Found II paper
-Stamps from Studio Calico Pop Off the Page class, Close to My Heart "It's Your Day" set, Technique Tuesday "Just My Type" set.
-Tulle, My Mind's Eye Washi from the "Indie Chic" line, American Crafts red jute, daisy vintage trim, flat back pearls, embellishments from Studio Calico Pop Off the Page class.
- VersaColor ink, PTI ink.
Subscribe to:
Posts (Atom)